Getting Your Window Treatments Right (Part 2)
Continuing on our previous post of getting your window treatments right, we pick up where we left off.
The Break
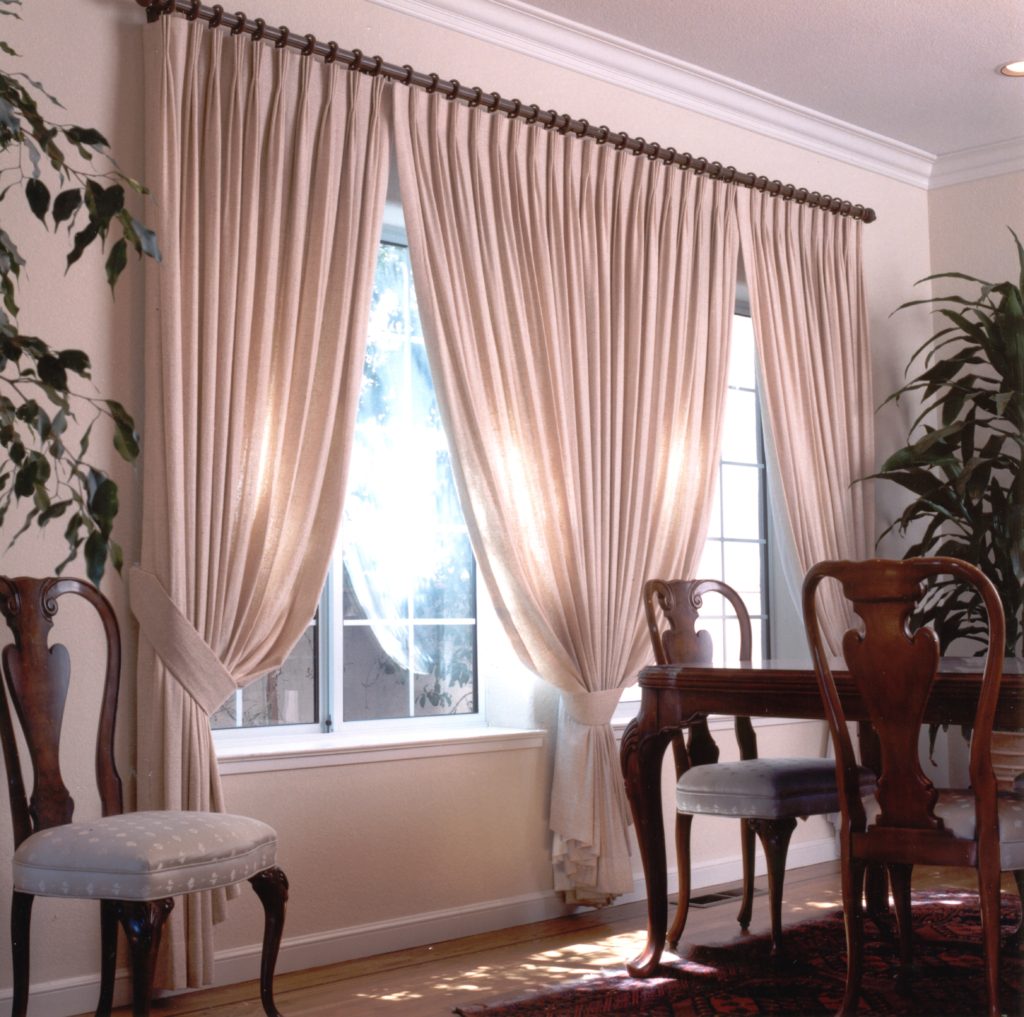
Contrary to what it might sound like, the break does not refer to something negative like a broken bone or a smashed piece of pottery. When working with window treatments, the break is the term used when referring to the point where the bottom of the drapery panel sits in relation to the floor.
While there is no hard and fast rule for just how high off the floor this should be, one good rule to consider is keeping the break around ¼ inch above the floor. This height helps prevent the panel from collecting dust or getting stepped on (by you or your pets).
Depending on the look that you are going for, you can also create a more dramatic looking set of window treatments by allowing the draperies to pool together on the floor. While this sounds easy, the actual execution can be a little more difficult to pull off as the floors and ceiling are rarely perfectly level. This means that the seamstress will have her work cut out for here in trying to get the exact measurements to be correct.
Choosing a Pleat Style
It might be hard to believe, but the pleat style that you choose can completely alter the overall appearance of the design as well as the overall room. Even though the pleat style seems like such a small detail, the choice can convert a feminine look into a masculine one, from a casual feel to super traditional.
But what is the pleat? It refers to the tailoring that is done at the top of the panel. And there are dozen of styles to choose.
This is why having a vision for your window treatments is so important. Every decision you make needs to be aligned with the overall goal. But if you are not sure what direction to go in with your pleat, stick with the styles that are gender-neutral and work in both modern and traditional homes.
And if you need help with creating or expressing a vision, contact us today! We specialize in window treatments and want to help you create the perfect look!
Choosing Drapery Rings
Just as your pleat style choices ripple across the entire room, so to do your hardware choices. But your hardware selections are no different than your fashion accessories – they can either amplify the overall look or completely disrupt it.
One such piece of hardware are drapery rings. These little additions can have a big impact on the way your windows are seen. When planning on which drapery rings to go with, keep in mind that each single panel will require approximately 8 rings.
Drapery Hooks and Rods
Drapery hooks are placed into the back of each panel, typically positioned into the stitching at the back of the pleat. After being secured in place, the hooks attach each panel to the ring or ringlet at the top of the drapes.
Meanwhile, drapery rods are key in the mounting to the wall. You will want to select a rod with the right finish and ensure that it comes with brackets wide enough to clear the windows, doors and any surrounding trim.
When choosing drapery rods, keep in mind that wooden rods might need to be cut to fit the space with metal rods typically are able to be adjusted.
When creating your custom window treatments, no detail is too small. If you have a specific vision for your home, contact us today to see how we can help you bring it to life!